Click here to view recipe.
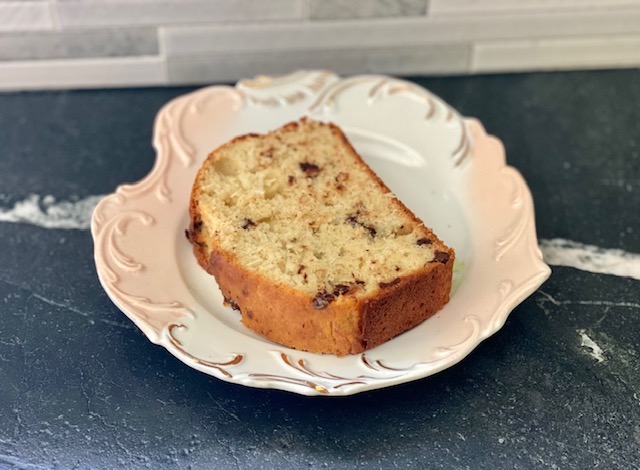
Summer Strawberry Lemon Loaf Cake
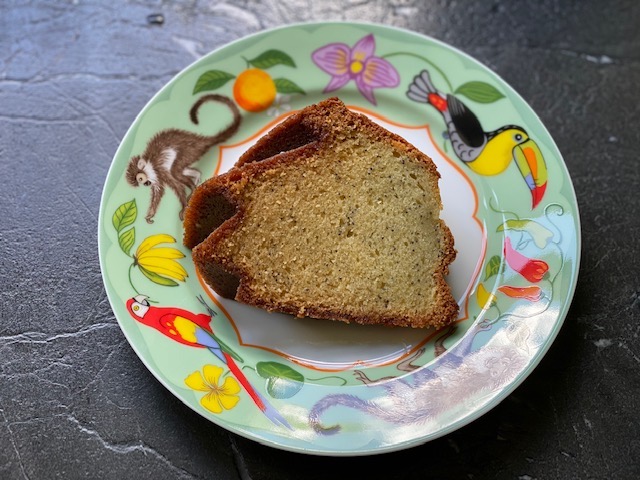
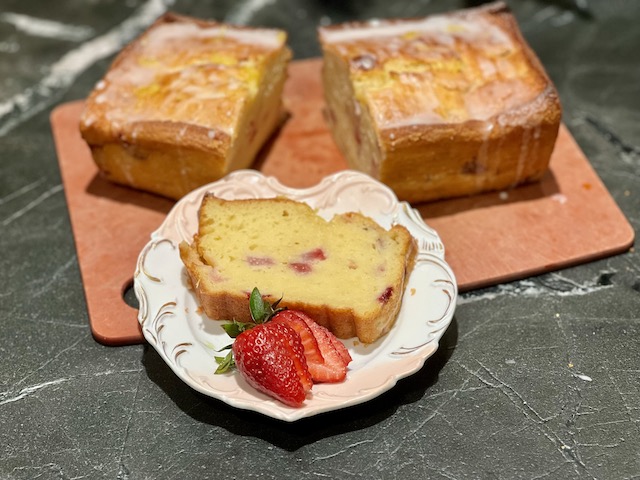
For me – strawberries scream summer, or pre-summer. In early June, I set out to find some type of strawberry cake to make for my grandson in Seattle. He always chooses strawberry ice cream and when I told him I was going to make a post birthday cake with strawberries, he was really thrilled. What I stumbled upon is a lemon cake with diced, jammy, fresh strawberry bits inside. It has an interesting, dense texture and is terrific as a dessert or as a breakfast item.
I started with a New York Times recipe by Millie Peartree. I love that name, Peartree! I changed her recipe a lot but kept it very simple. As I often do, I used a kitchen scale to measure quantities whenever I could which makes clean-up much easier.
Another plus here is that the cake contains oil rather than butter and can be stirred together in a bowl with a spatula. No mixer to haul out or clean after the fact! I ended up reducing the sugar and substituting whole milk plain yogurt for sour cream. I used half the amount of glaze called for which was just enough for me and did not overpower the cake.
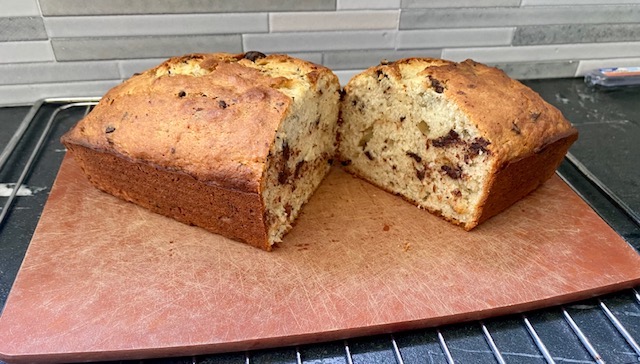
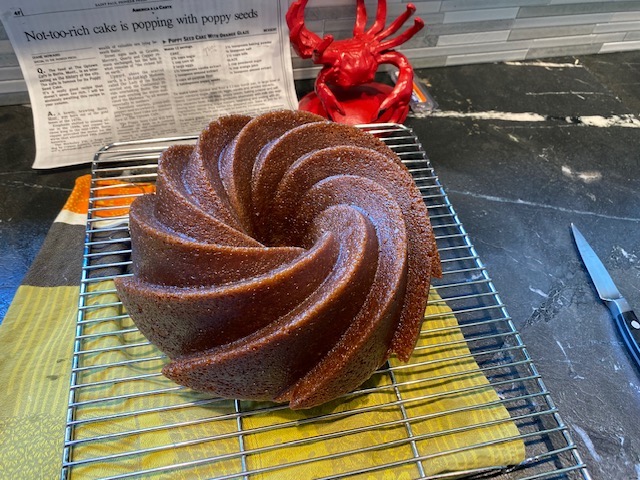
The bread pan I used, which I do love, was a little small and the cake rose beyond the top of the pan and was not “domed” like a lot of breads can be. Note to self: I need to buy a 9 x 5 bread pan since the 8 x 4 is giving me trouble!
My next plan is to try this with diced spring rhubarb. Yum!
Summer Strawberry Lemon Loaf Cake
Yield: one 8–9-inch loaf
![]()
Cake Ingredients
- 150 grams strawberries (remove the stem and dice ¼ inch. I weigh the berries without their stems.
- 20 grams of granulated sugar to macerate the berries
- 170 grams of granulated sugar
- Grated zest of 1 large lemon
- 192 grams all-purpose flour
- 2 tsp baking powder
- ½ tsp sea salt
- 227 grams unflavored whole milk yogurt (I use Stonyfield Farms)
- 110 grams avocado oil or another neutral oil
- 3 large eggs
- 1 Tbsp fresh lemon juice
- 1 tsp pure vanilla extract or lemon flavoring
Glaze Ingredients
- ½ cup powdered sugar (about 60 grams)
- 2 tsp fresh lemon juice
- 2 tsp of lemon zest
Instructions
Spray a loaf pan or use my homemade baking Pam mixture. Preheat the oven to 350 degrees with the oven rack in the center.
Macerate the strawberries with 20 grams of sugar. All this means is add sugar to the diced berries and let them sit for around a half hour to release the juices. Stir them occasionally. I then drain juice from the berries in a strainer and toss the plain berries with a teaspoon of flour right before adding them to the batter at the end. I taught my 5-year-old grandson the word “macerate” too!
In a large bowl, combine the 170 grams of sugar and the lemon rind and mix them together with your fingers so the lemon oils flavor the sugar. To the same bowl add flour, baking powder and salt.
In a medium bowl, whisk together the yogurt, oil, eggs, lemon juice and lemon flavoring or vanilla. Pour this liquid mixture into the dry ingredients above and stir together gently. Gently fold in the strawberries
Pour the batter into the prepared pan and bake until a toothpick comes out clean, between 55 minutes and 65 minutes. It will brown nicely on top. Cool the cake in the pan on a rack for 10 minutes, then gently remove it to a cooling rack. Let it cool completely.
To glaze, when the cake is cool, whisk ½ cup of powdered sugar, 1-2 tsp of lemon juice together. Add more lemon juice if needed so it has the consistency of maple syrup. Drizzle over the top of the cooled cake and then immediately sprinkle with the lemon zest. Let it cool and harden.
Serve slices of the cake with some sliced strawberries.