Click here to view recipe.
Triple Lemon Sugar Cookies
Lemon always appeals to me… I love its brightness throughout the year. This past April I was on the hunt for something non chocolate to bake and have with tea. I considered sour cherry/oatmeal cookies, salty peanut butter cookies, and then I spied a recipe on the back of Bob’s Red Mill All Purpose flour that I bought at the coop that morning: LEMON SUGAR COOKIES. I was tempted by the sparkling sugar, an ingredient I adore for the crunch and sparkle.
I made these more lemony, if that’s even a word. I substituted lemon extract for vanilla, and added a lot more lemon zest which I worked into the granulated sugar for extra oomph. And, as always, I added less granulated sugar. I made these a little smaller evidently because I ended up with 32 cookies instead of 24, and I had to bake them longer than the original recipe. I also didn’t use Bob’s Red Mill flour because I needed to finish my King Arthur A/P flour!
These cookies check many boxes for me. They are crisp on the edges and soft in the center, and you really do know they are lemon. These will be good for food on the plane, which I always plan during my long haul flights as well.
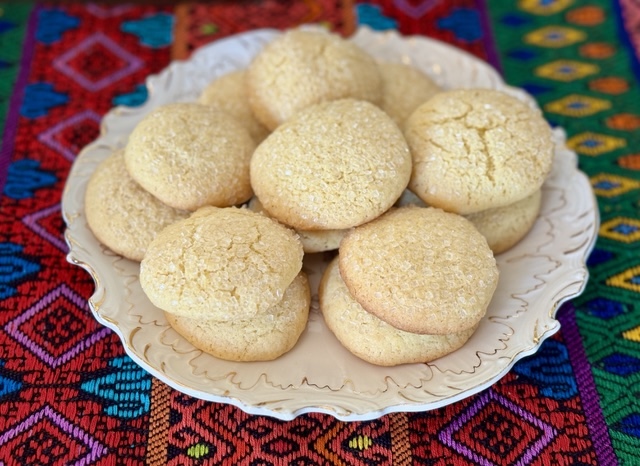
Triple Lemon Sugar Cookies
Yield 30 or more
![]()
Ingredients
- 2 ¼ cups all purpose, unbleached flour
- ½ tsp baking soda
- ½ tsp baking powder
- ½ tsp fine sea salt
- ¾ cup (1 ½ sticks) salted butter
- 1 cup granulated sugar, minus about 1 Tablespoon
- 2 Tbsp lemon zest (work this into the sugar with your fingertips)
- 1 large egg
- 1 tsp lemon extract
- 2 Tbsp fresh lemon juice
- ¼ cup sparkling sugar for rolling the balls of cookie dough
Instructions
Preheat the oven to 375 with the rack in the center and line two cookie sheets with parchment paper.
In a small bowl, stir together flour, baking powder, baking soda and salt – set aside
In a large mixing bowl using an electric mixer, cream butter and sugar/zest mixture until combined. Add the egg and mix well. Add the lemon extract and lemon juice. Finally, add in the flour mixture. The dough will be stiff but soft to the touch.
Scoop cookies into 1 Tbsp balls and roll the tops into the sparkling sugar. Put the balls 2 inches apart on the parchment lined cookie sheets, 12 per sheet and bake 12-14 minutes until barely golden on the edges. Remove from the oven and let them sit for 5 minutes then move the cookies to a rack.
Enjoy with tea or a glass of cold, cold milk.