
Click here to view recipe.
Fabulous Flan
Oh no! I almost forgot to post this basic flan recipe, one of the first things I learned to make after we started coming to Belize. Restaurant dessert menus here always include flan, but every one of them tastes a little different.
At least ten years ago, I had a friend in Belize named Martha who made tamales and sold them on the street. She was an exceptional cook and taught me how to make many native dishes, including flan. Martha and I would spend hours in her tiny kitchen, sweating and chopping ingredients and sharing bits and pieces of our lives. She was then just thirty years old and had seven children, ages 2 – 16!
Martha’s flan was a little airier than I like so I went from restaurant to restaurant, chef to chef, home cook to home cook, and asked for THEIR favorite flan recipe. Everyone had different ingredients, differing numbers of eggs, a few added cream cheese(!), some made it on top of the stove, others cooked it in the oven, a few cooks covered the pan and others did not, cooking times varied wildly…not one man or woman of the ten or more I questioned did things the same way.
Afterwards I did an internet search. It turns out that most recipes involve a complicated caramel that has to be done separately… ingredients are strained and so on. And many reviews said it took several tries to get this right.
Ta da! I am pleased to share with you the result of all my research … my very own version of the flan I make in Belize. I tried many different cooking methods, I tried covering and uncovering and this is what makes the best flan for me. It takes about ten minutes tops to prepare but more time to cook and cool. It’s a dumbed down creme caramel, uses just one mixing bowl and a flan pan. No straining. It is the recipe I make often since I always have these ingredients in my pantry.
And in my very humble opinion, it is perfect!

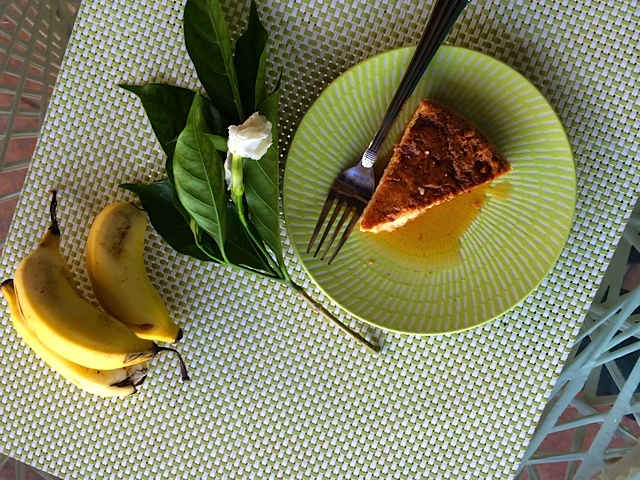
Final flan – nothing fancy … but it’s fabulous!
Simple Stovetop Flan
For an 8-inch metal straight-sided cake pan
![]()
Ingredients for the bottom of the flan/cake pan:
- ½ tsp of butter to barely coat the sides and bottom
- 2 Tbsp sugar (regular granulated or turbinado)
- ¼ tsp ground cinnamon – this is added after the sugar is caramelized
Ingredients for the flan
- 3 eggs, room temperature
- 1 large can evaporated full cream milk (14.5 oz)
- 1 can condensed milk (397 g – the can looks a bit smaller than the can of evaporated milk)
- 1 ½ Tbsp dark rum (substitute coffee if you wish)
- 1 ½ tsp pure vanilla extract
Instructions
Start about a quart of water boiling for a water bath in a 12-inch straight sided saute pan. The diameter of this pan has to be big enough so you can place the flan pan inside it, and you need a lid that fits on this larger pan.
Mix the flan ingredients above by hand with a whisk until everything is combined.
I lightly grease the flan pan on the bottoms and sides…and I mean barely. Evenly sprinkle the bottom with two tablespoons of sugar and place the flan pan directly on the stovetop burner over medium heat. (I have a gas range, but an electric stovetop will work too. Put on the exhaust fan (this part of the recipe will produce a lot of smoke) and stand by while the sugar starts to become dark golden brown. Do not stir, but let it bubble on its own. When it starts to become dark golden brown, immediately remove the pan from the heat and place on a heat-proof surface. The browned or caramelized sugar will harden, which is not a problem. Sprinkle the cinnamon evenly on top of the browned sugar.
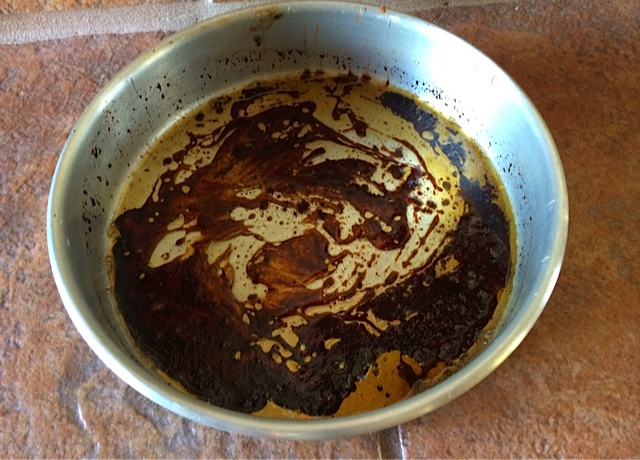
The flan pan with caramelized sugar – ready to be filled
After the pan cools for at least 10 minutes, pour the remaining mixture of flan ingredients on top of the caramelized sugar in the cake pan and gently lower the filled, smaller (now filled) flan pan into the larger pan with simmering water. The water should come halfway up the sides of the flan container. I keep a kettle of hot water nearby and add more water every 20 minutes or somas it boils down. Do not cover the pan. Keep the water simmering for two hours, then cover the entire larger pan with the flan still inside of it for 10 minutes. Remove the lid quickly and see if it is done–a knife inserted into the center of the flan should come out clean, which is how you know it is ready.
Put on kitchen gloves and carefully remove the flan pan from the water bath onto a rack and let it cool there. After 20 minutes or so the edges start to pull away from the sides of the pan. I gently “rock” or shake (gently) the flan to be sure the sides aren’t sticking to the pan – I do this every 20 minutes or so and if it seems stuck, take a sharp knife and run it around the edge of the pan. After one hour, it’s time to get the flan out of it’s pan. Shake gently before you take the flan out of the flan pan to be sure it is loosened from the sides and bottom. Put a rimmed plate over the flan pan and invert the dessert so the caramel part is facing up. Juice will dribble all around the edges. Let it cool and refrigerate, covered, before serving.
This is so easy, the next time you have to provide a dessert make this! It’s different, and loved by all.


