Click here to view recipe.

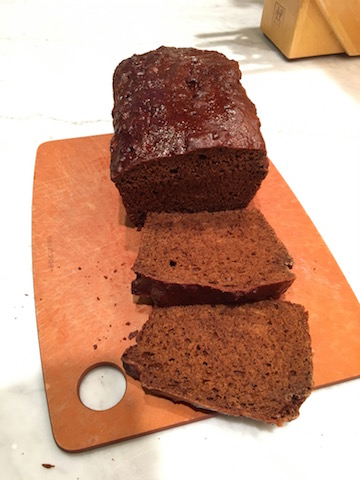
Gorgeously Glazed Pumpkin Bread
It is big time fall leaning toward winter in Seattle, and it’s been very windy, rainy and damp. This is the time of year when I get into my baking mode. This year, on the week before Thanksgiving I made a few loaves of this Pumpkin Bread for the freezer, and when my California kids came on the Tuesday prior to Turkey Day, I whipped this out, much to their delight! But it’s not just for Thanksgiving time … this bread is delightful throughout the cold winter months.
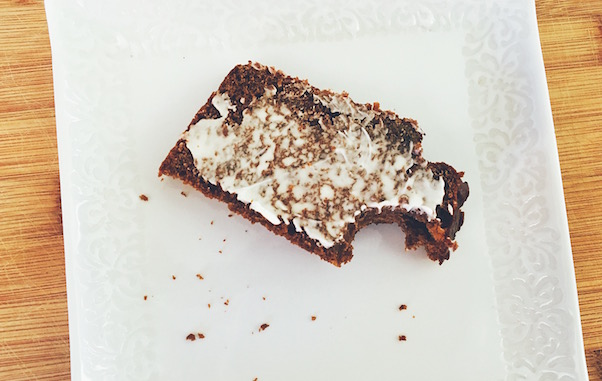
This fits my list of requirements: It’s one bowl, easy, not fussy if you don’t happen to perfectly measure the flour or pumpkin. The most important part is that it tastes fantastic! I previously made pumpkin cookies and pumpkin scones, and although this is the simplest of the pumpkin recipes I’ve tried, it’s my family’s favorite, heads and shoulders above anything similar in the case of your coffee shop.
So get cracking and keep this in your fall to winter rotation. I highly recommend a strong latte or cup of tea on the side.
Glazed Pumpkin Bread
Makes one loaf
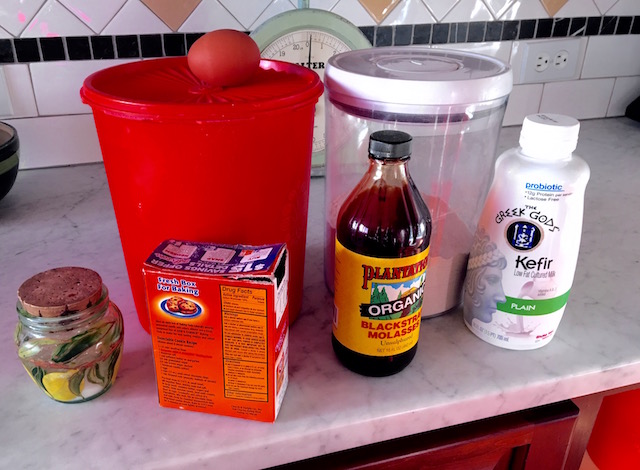
![]()
Bread Ingredients
- 2 large eggs
- 1 cup pumpkin puree (freeze or refrigerate the rest for scones or cookies or to told into Mac and Cheese)
- ½ cup vegetable oil
- 1 tsp pure vanilla extract
- ¾ cup granulated sugar
- 1 tsp fresh ground nutmeg
- 1 tsp ground cinnamon
- 1 ½ cups all-purpose flour
- ½ tsp fine sea salt
- 1 tsp baking soda
Topping Ingredients
- ¾ cup powdered sugar sifted
- 2 tbsp pure maple syrup (more or less)
- Dash pure vanilla extract
Instructions
Preheat oven to 350F
Spray a non-stick standard loaf pan (8 or 9 inch) with cooking spray.
Whisk the eggs in a large mixing bowl. Whisk in the pumpkin, oil, sugar, and vanilla.
Stir in the flour, baking soda, cinnamon, nutmeg and salt and mix until combined.
Scrape the batter into the sprayed pan and even out the top with an offset spatula or knife
Bake until a toothpick comes out dry, about 50 minutes.
Let the loaf cool 10 minutes, then remove from the bread pan and cool to room temperature before glazing.
To make the glaze, whisk together the sugar with enough maple syrup to make a thick, spreadable glaze. Whisk in the dash of vanilla extract Spread this thick frosting onto the cooled bread with a knife. I refrigerate the bread at this point until the frosting hardens.
Cook’s Notes:
- This doubles really well and freezes nicely too.
- The original recipe included ginger and cloves, but I like pretty simple spices in lieu of 3 or 4 flavors so I pared it down to nutmeg and cinnamon. I also reduced the sugar by a fourth and it is still plenty sweet for me, especially with the glaze which I also cut in half. I’m just not a fan of ooey gooey sugary sweet things. Some readers might like to fold in chocolate chips and/or nuts, but again I am a Plain Jane with regard to desserts.