Click here to view recipe.
Beautiful Blackberry Pie
First of all, I apologize. I am sorry for posting so many desserty, not-good-for-you recipes lately, because in all honesty I usually eat healthfully and truly like grainy, no-white-flour-and-little-sugar type dishes. In my world, savory always beats sweet. Well, almost always…
So where do I begin? I guess with how I collected all the blackberries. Two or three weeks ago, my husband and I were walking in our Seattle neighborhood park and came upon a bramble of ripe, juicy blackberries growing by the roadside. Since I had a zip lock bag, we proceeded to pick about four cups of berries, but at the end of the picking spree Wayne accidentally stepped on the plastic bag with our berries. Not to worry. I immediately thought about making a pie or galette. I procrastinated a bit too long though and ended up throwing together two large jars of stovetop blackberry jam. Though unplanned – not bad… Almost gone, in fact.
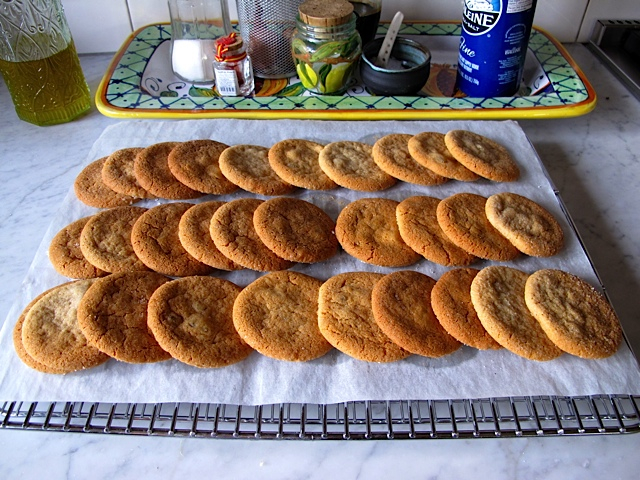
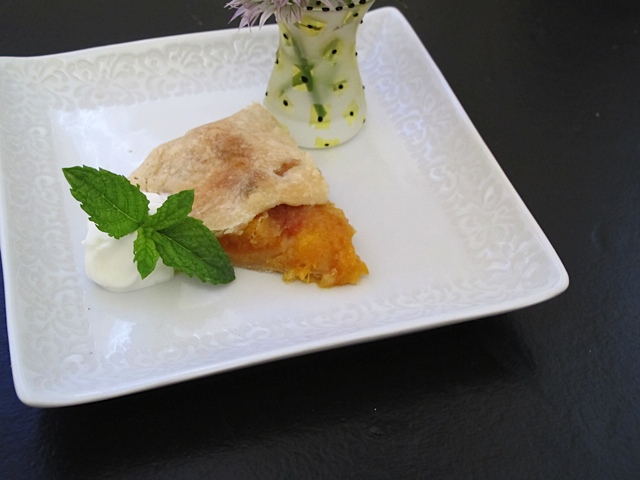
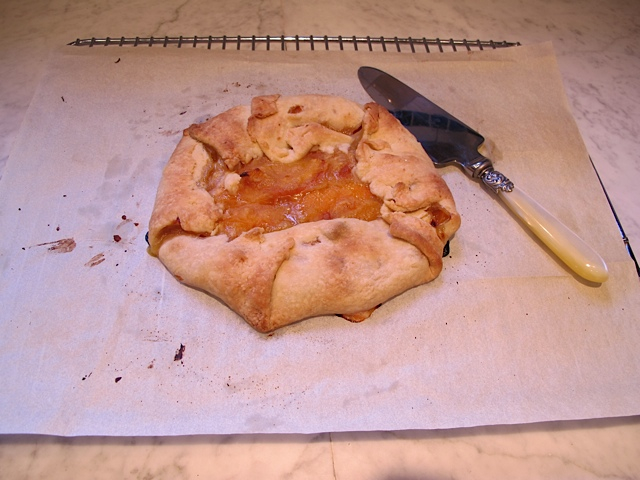
Next, I had two remaining discs of frozen dough from the galettes I baked the previous week in the freezer. You remember the dough recipe? Oh yeah, those babies were just waiting to be called out of the freezer.
And finally, my daughter and kids were visiting. One of Rachel’s favorite childhood memories includes picking blackberries. When I was young and foolish, I always told the kids that if they took on the unpleasant task of braving the thorns and spearheading the blackberry picking, I’d bake a blackberry pie.
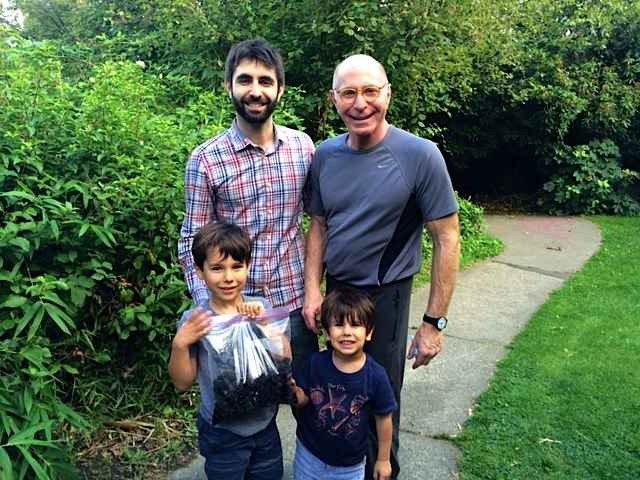
One grandpa, one uncle and two grandsons picking berries
My daughter took her two boys to the park with my son and husband to pick and to play, and they quickly amassed 2 ½ POUNDS of ripe berries (uncrushed even!). By day three I hadn’t done anything with them.
“Just make a pie,” everyone suggested. Oh yes, just make a pie like it takes no time at all. My husband even had the gall to suggest I use store bought crust–but that is never going to happen! I really didn’t think my frozen crust discs were large enough for a pie, and I didn’t have the drive to start fresh and make crust again!
The final straw? Jakey boy, my “baby” 28 year-old-son, was about to graduate from Endodontics school and he said he really wanted a pie. So, being a good mother/grandmother/wife/person I rolled out one of the frozen (now defrosted in the fridge) pie crusts. Bingo, it was a thin crust, my fave -and I barely eked out a lattice for the top, but it was enough crust for a pie.
So it came to pass that our household has its blackberry pie. I am going to make another recipe of pie crust since I know this pie will disappear in two seconds flat, and everyone is going to volunteer to pick more blackberries. My son and his family will overlap these visitors and arrive next week, so you better believe I’ll happily bake another pie.
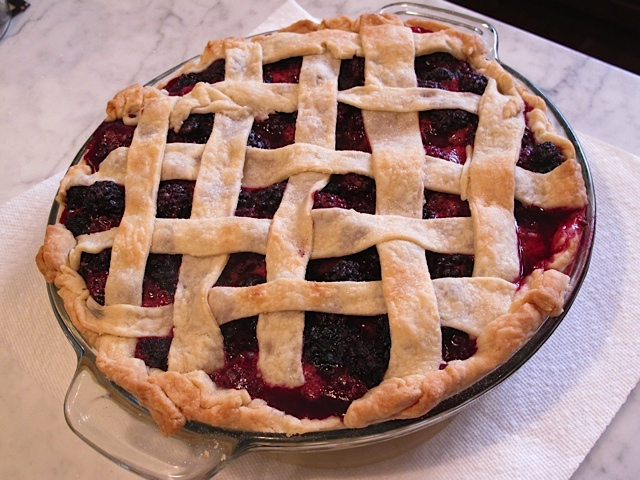
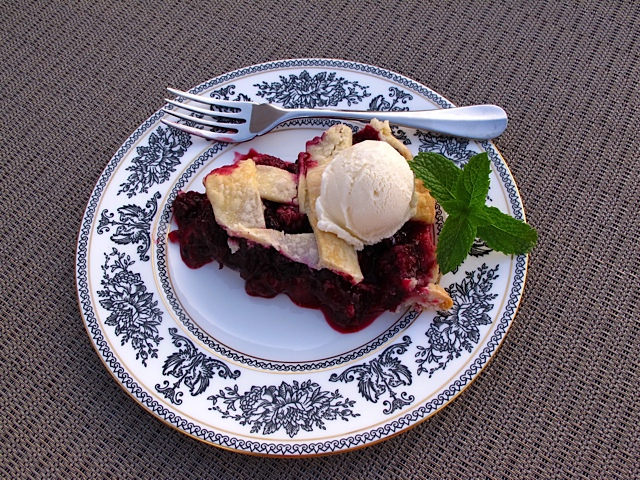
The pie … which soon disappeared
Blackberry Pie
Serves 10
![]()
Filling Ingredients
- 5-6 C blackberries (I had a lot more, maybe 8 cups? or about 2 ½ lbs)
- 2/3 C granulated sugar (it takes this much because blackberries are sour, people!)
- 1/3+ C all purpose flour (add more if you have more than 8 cups of berries-1 Tbsp extra flour for each additional cup of berries
- ½ tsp. grated lemon peel
- ¾ tsp. cinnamon
- 2 tsp of granulated sugar to sprinkle on top of the finished but unbaked pie
Instructions
Preheat your oven to 425 degrees and adjust racks so you can bake the pie in the middle to lower part of the oven.
For the filling – gently fold all ingredients together with a spatula.
For the crust bottom and top lattice – use your favorite recipe or my easy crust.
Roll out a bottom pie crust for a 9-inch pie plate and put crust inside the glass pie dish. Sprinkle two teaspoons of flour on the bottom of the pie crust, put filling in, top with lattice or regular pie crust in which you poke several holes. Sprinkle the top of the pie with 2 teaspoons of sugar.
Put unbaked pie on top of parchment-lined cookie sheet and bake for ten minutes, then lower the heat to 350 degrees and bake for 35 minutes or until golden brown.
Place the pie plate on a cooling rack; it takes a long time to cool. I love mine warm with a little whipping cream or vanilla ice cream. Note: I actually loved filling the pie this time with more berries than called for, but I would adjust the flour as I mention above or it will be a tad runny like mine was!