Click here to view recipe.

Crisp & Chewy Gingery Cookies
August in Seattle brings “Seafair” – an annual summer celebration. Block parties, parades, hydroplane races and the Blue Angels. We always get invited to a Seafair party to view the dark blue planes screaming across the sky and to eat mostly deli food imported from New York. Dessert? A variety of cookies, and this year I was asked to bake ‘em.
What to do, what to do? I knew there were already peanut butter balls and chocolate chippers in the queue. As much as I could live on chocolate, I decided to resurrect an old, really good recipe for spicy, sweet ginger cookies.
If you are a ginger lover, make these. If you are a chocolate lover, dip half in chocolate. They are not your average molasses cookie, and instead of turning a burnished brown, they are golden, crisp around the edges. And unlike the hard ginger cookies you find in a box at the store, these are chewy in the center.
I must comment on the “Lyle’s golden syrup” in these cookies. I’d never heard of Lyle’s but a client of mine from South Africa had me prepare her favorite cookies for a large gathering using Lyle’s instead of honey or maple syrup. The cane sugar syrup is produced in the United Kingdom and is a popular sweetener in Great Britain, Australia and Africa. I found Lyle’s cane syrup easily at my supermarket. And became an instant fan. (If you’re in a pinch and can’t find Lyle’s … maple syrup should suffice.)
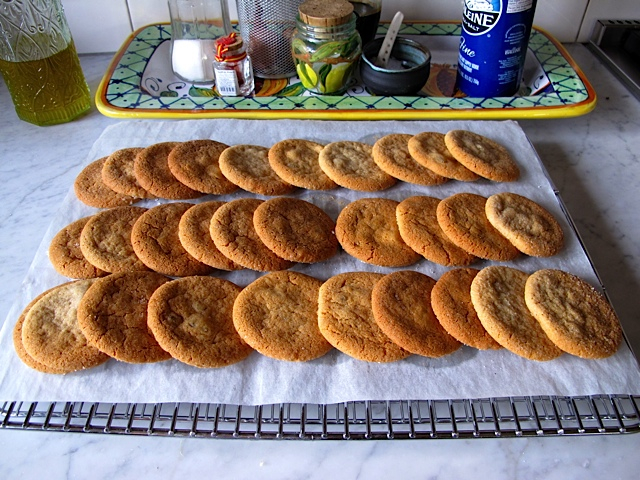
Rows and Rows of Cookies
This makes a nice number of cookies and they freeze well for up to three months. I usually make what I need then form the rest of the dough into balls rolled in sugar. Then I flash freeze them and keep them in the freezer to bake a few at a time.
These are great with morning tea, and just a little unusual. Kind of like me!
Gingery Cookies
Makes 3 ½ – 4 dozen
![]()
Ingredients:
- ¾ c salted butter, softened
- 1 cup minus 1 Tbsp granulated sugar
- ¼ c Lyle’s golden syrup
- 1 large egg, room temperature
- 2 cups all purpose flour
- ¾ tsp.fine grained sea salt
- 2 tsp. baking baking soda
- 1 tsp. ground cinnamon
- 1 ½ tsp. ground ginger
- ¼ tsp. lemon extract
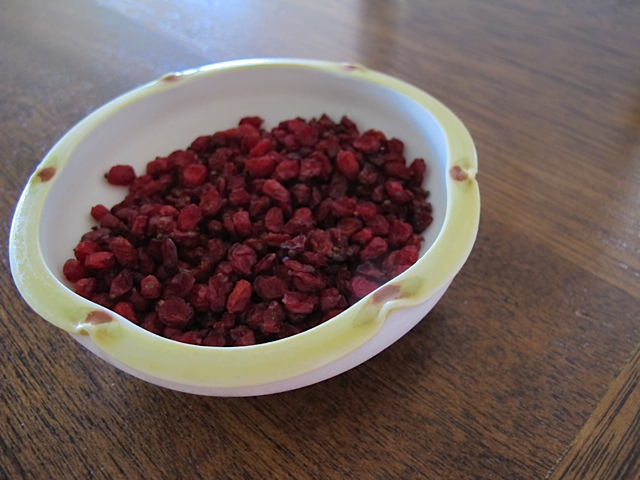
- ¼ c chopped crystallized ginger
- About 3 Tbsp granulated sugar to roll the cookies
Instructions
Preheat oven to 350. Line two baking sheets with parchment paper.
Cream butter and sugar for six minutes at medium speed. I know it seems like a long time but this adds to the delicate texture of these cookies. Add the Lyle’s syrup then the egg and mix just until incorporated.
Combine dry ingredients and beat into butter mix until just combined…do not overmix. Fold in chopped ginger. At this point I always refrigerate the dough for a half hour and wash all the dishes and clean the counters!
Form into 1+¼” balls, roll in sugar and place on parchment-lined cookie sheet. Flatten each ball with a glass. They will continue to spread even bigger, so I put 12 cookies per sheet.
Bake 10 minutes or until golden.
If you have frozen balls of dough, remove from the freezer for ½ hour then proceed with flattening and baking. I often do two at a time in the toaster oven if I crave freshly baked cookies.