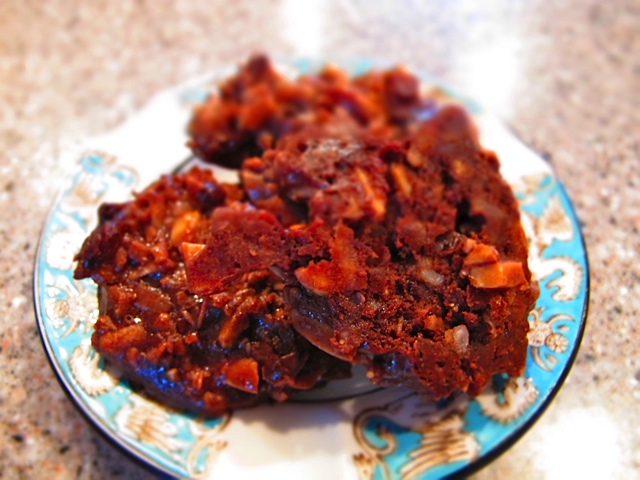
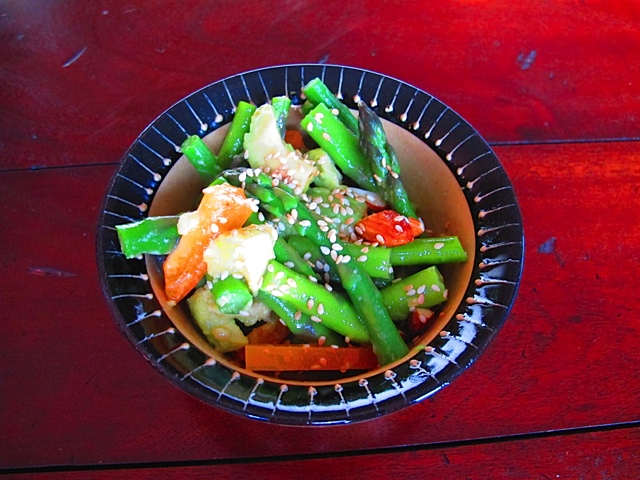
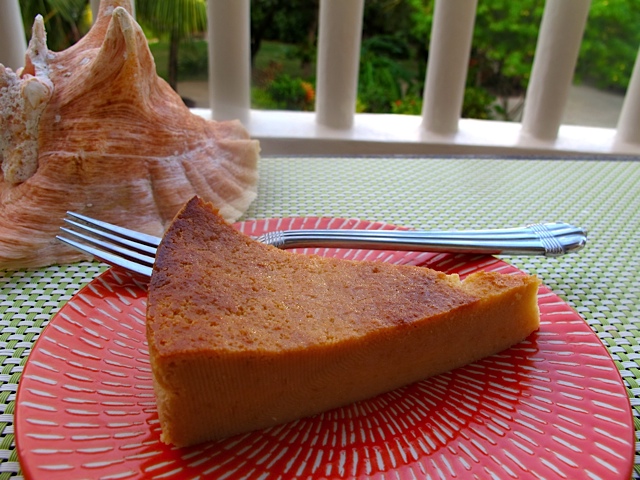
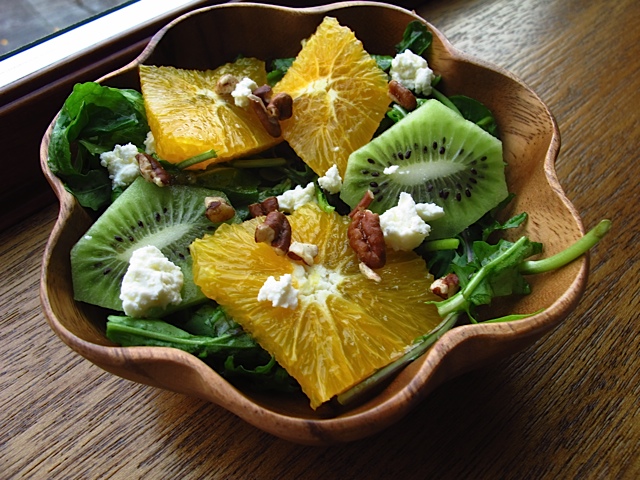
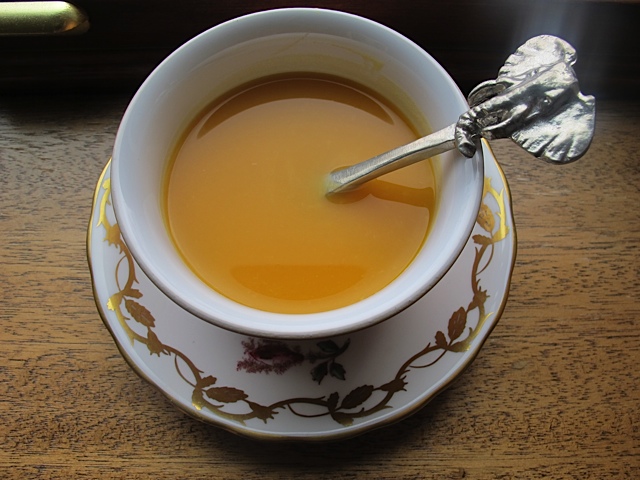
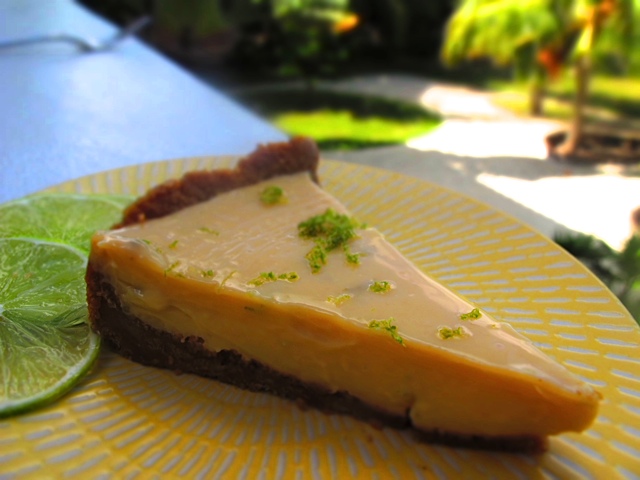
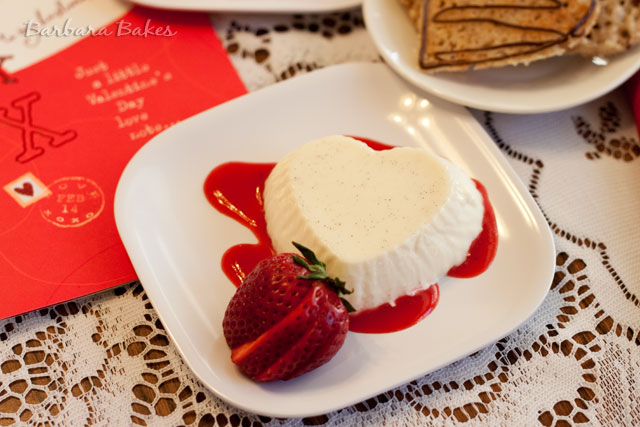
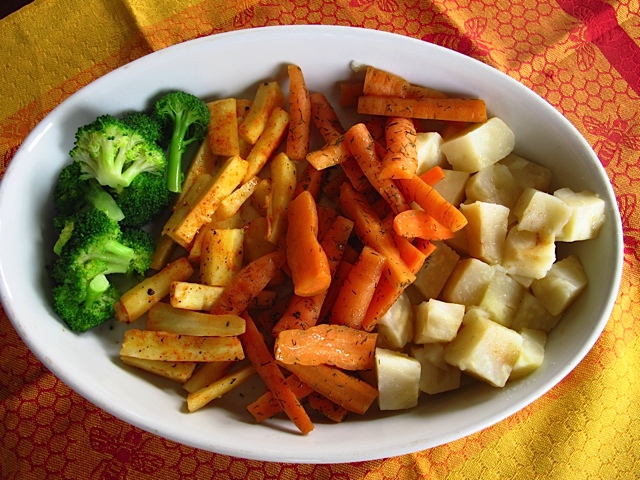
A colorful display of beautiful food on a favorite plate
Some of you – perhaps most of you – have a creative streak for making beauty happen: painting, photography, music, writing, wardrobing, decorating, knitting, flower arranging, gardening, sewing… creative capabilities are endless. Personally, I don’t feel I am particularly gifted or even highly competent at most of these activities. Yes, the writing and photography aspects of my website are particularly challenging for me.
Yet I love the creativity I possess in the kitchen. It is probably obvious to you by now that I can spend all day here, inventing and cooking as my iTunes playlist sings in the background. Improvising and making a meal becomes almost meditative and is my most imaginative and enjoyable endeavor. In my mind, I conjure up the tastes of a dish or an entire meal much like an orchestra conductor can close his eyes and hear how a piece of music will sound. I rifle through my leftover food and review the staples in the fridge and cupboard then create a memorable meal, typically without recipes.
When I do try something new that is actually a “recipe” I rarely make it as written or with precise measurements or ingredients; I seem to substitute at whim, and until recently I thought everyone did this too. I know what I like and what will please me at the moment. Most often, in less than 30 minutes I produce a plate of food that would knock your socks off. I do record (on my computer) these recipes so that if I happen to come up with a home run, I can sort of replicate a dish I love. Friends often call me for suggestions about menus or a particular recipe they are attempting to make. I have hundreds of cookbooks although since 1998 I’ve cataloged all my recipes on the computer – backed up two different ways so they are never lost in cyberspace.

A sampling of my most prized culinary possessions (see end notes for details)
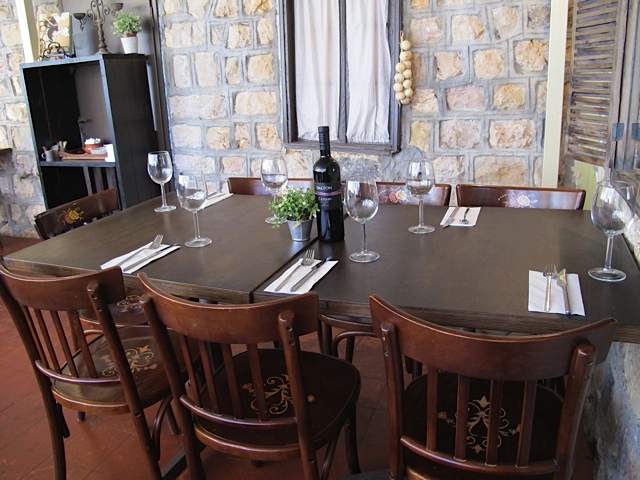
For me it is important to pay attention to colors, sizes, shapes, textures, and flavors that will marry on the plate. AND I have so many serving pieces that it is embarrassing, but they’re not just decorative. Beautiful serveware items are my props: bowls or dishes that belonged to my grandmother who I never met, to my mother, platters and pitchers and cutlery from Italy and Africa and Spain and Japan and New Zealand, from craft fairs, or from special friends or family. I know and cherish the history of every piece. My only rule is that whatever I purchase or own must be used and not just put on a shelf to collect dust. I pull these items from their designated storage spots almost every night, whether I am cooking for the two of us, for me and a friend, or for company. Lately I have given a few of these special objects to friends or family I know will treasure them as much as I do.
End note: the above picture features some of my most beloved objects: a shakshukah pan I just bought in Israel, a coffee cup from the Cape of Good Hope in Africa, a bowl from an art fair, a silver napkin ring from England (I have a collection of these from all over) and a tablecloth from Italy.