Click here to view recipe.
Tasty Tuna & Bean Salad
I could have titled this “I am sick and tired of winter and our lack of fresh vegetables” salad. Don’t misunderstand … I’m a lover of all things vegetal, but by the end of winter I am ready for more choices than root vegetables. I’ve eaten so many carrots and parsnips and multicolored baby potatoes that it’s not even funny. I’m over kale salads on a daily basis but I’ll come back to them. Warming lentils and barley … enough already. I’m looking for something savory, crunchy and filling with an assertive flavor that can be made ahead.
Ta da! I resurrected this zesty marinated tuna-bean-crouton creation. I don’t even know where the original recipe came from … I have switched and swapped ingredients and quantities ad nauseum. It’s kind of an amalgamation of a nicoise and a panzanella salad. It’s pretty healthful – though definitely not gluten free … but I don’t worry about that.
For some reason this hits the spot in March when it’s still a bit cold and I don’t want another bowl of stew or soup. I imagine I’ll continue making this in the summer too – adding different fresh herbs from the garden, perhaps incorporating halved garden cherry tomatoes or fresh crunchy radishes. I was thinking a little crumbled feta would taste good as well.
But for now, this is perfect as is. We had this along with a citrusy fruit combination of grapefruit, orange, blood orange and red grapes. Yum, yum!
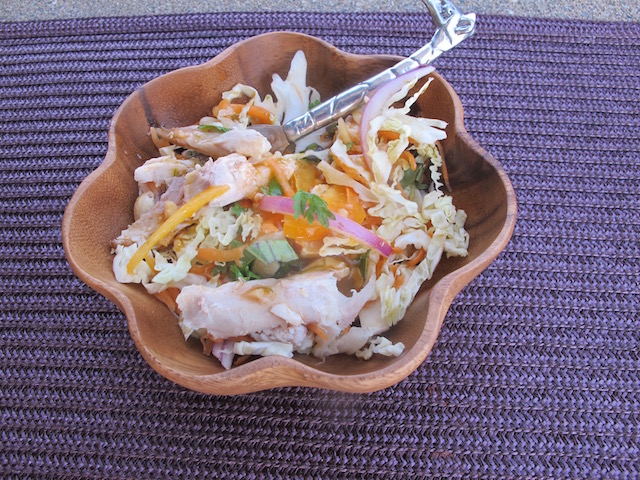
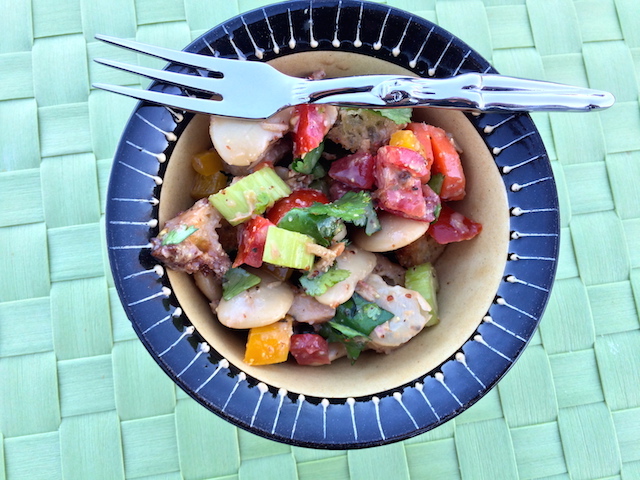
Marinated Tuna & Bean Salad
Serves 4
![]()
Salad Ingredients
- 1 ½ cups freshly made croutons (see below)
- 1 large carrot, peeled, and sliced in ⅛ inch circles
- ½ large yellow pepper, thinly sliced into bite size pieces – about ⅛ inch by 1 ½ inches
- 1 stalk celery, cut into ⅛ inch pieces
- ¼ cup finely minced cilantro (if you hate cilantro, use fresh Italian parsley)
- 1 15-oz can white beans, rinsed and drained-shake off all the water
- 1 6-oz can line caught, good quality albacore tuna or good quality salmon, drained and flaked. I used smoked tuna and it was divine!
- 4 compari tomatoes, diced ½ inch
- 2 Tbsp rinsed and drained capers
Salad Dressing Ingredients
- 2 tsp grainy mustard
- 1 clove minced garlic
- 2 Tbsp finely minced shallot
- ½ tsp salt
- ¼ tsp fresh ground black pepper
- ½ tsp dry basil
- ¼ cup white balsamic vinegar (found in most supermarkets)
- 2 Tbsp extra virgin olive oil
Instructions
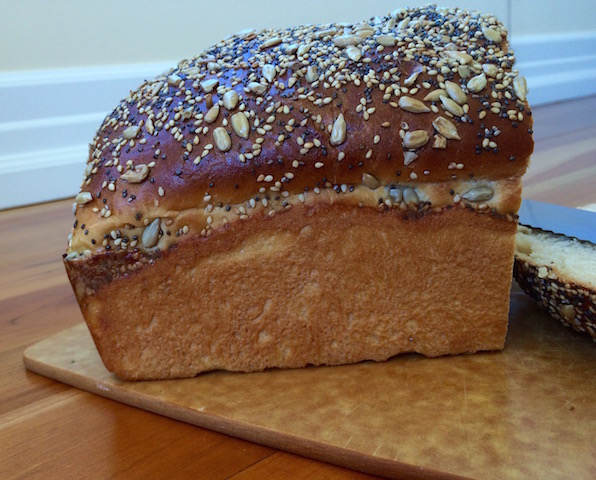
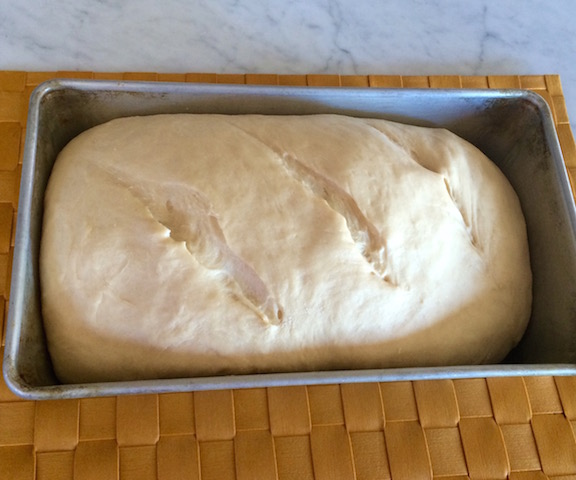
To make croutons (which I do in the toaster oven): Cut leftover baguette or any other high quality bread into ½ inch cubes and toss with one tablespoon good olive oil. Place on a foil-lined, rimmed cookie sheet, sprinkle with sea salt and bake in a 350 degree oven for 10 minutes or until brown… stirring halfway through. Cool. Note: You can use whole grain sourdough or other whole grain breads too.
Bring one inch of water to a boil in a small saucepan. Add the sliced carrots and cook without covering for two minutes. Remove the carrots from the water and drain – let them cool off before adding to the salad. For some reason blanching the carrots still keeps them crunchy but rounds out the flavor of this salad so don’t skip this step.
Prepare the salad dressing: I just dump everything into a narrow container and blend it with my hand held blender. You can also do this with elbow grease and a whisk. Set aside
Once everything is cooled off, put all the salad ingredients together in a salad bowl along with the blanched carrots and the cooled croutons and dressing. Stir well, cover and refrigerate for an hour before eating.
If you make this a few hours ahead, everything can be combined except the croutons – don’t put those in until the last hour of refrigeration. Garnish with cilantro or parsley and serve.
I have to say that even two days later, the salad tastes so good. Yes, the croutons are more mushy but I thoroughly enjoyed leftovers.