Click here to view recipe.
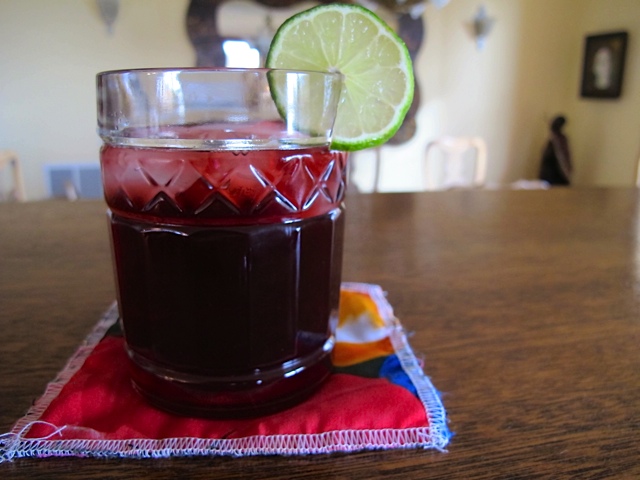
Beautiful Jamaica Beverage
As one of my latest adventures … I’m trying to learn conversational Spanish! I figure it’s good for my aging brain, and I’ve always regretted that I didn’t master another language during my early years. High school French isn’t that useful to me, and frankly I can understand a lot of this beautiful language, but I’m not ale to say more than a few words. Years and years of Hebrew school? Priceless but useless for me.
Spanish, though, is a language I long to speak – especially during my frequent trips to Belize. English is the country’s official language, but most construction workers and restaurant workers converse in Spanish. So I bought a computer program and tried to learn that way. For me, though, I perform best when I converse with native Spanish speakers. I don’t mind trying and sounding less than fluent – as long as I can communicate.
A couple of months ago I found my teacher, Norma, who hails from Mexico City but lives close to me in Seattle. Once a week we meet for an hour and speak (well, mostly she speaks) in Spanish.
It didn’t take that long for the topic of food and cooking to come up. I brought her some of my homemade tomato sauce (she calls it “salsa”) and she gave me some dried Hibiscus flowers to make tea. She told me how to do it, and now I am in love with Jamaica (pronounced “ha my ick a”). This is one of the beverages found on the streets along with Horchata in Mexico City.
Norma thought I would only be able to find the Hibiscus flowers at a Mexican tienda in town but I actually found them at Pacific Food Importers where I often get spices, beans, and cheeses. I now have a huge bag of dried flowers in my pantry and make this tea quite often.
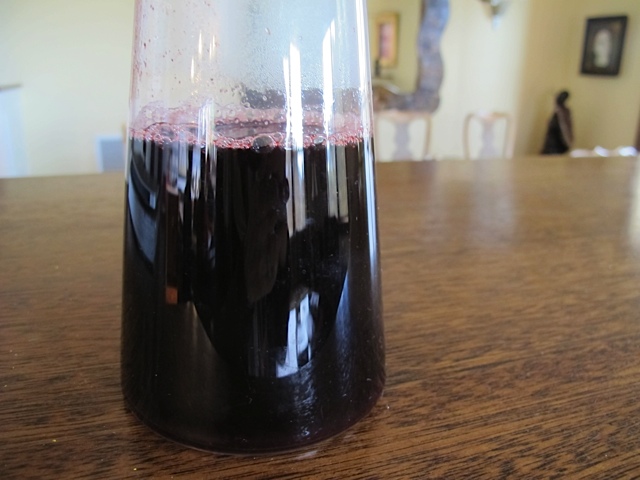
Jamaica concentrate
Jamaica Hibiscus Beverage
Makes 6 large glasses
![]()
Ingredients
- 1 quart water, half to start and half later
- ¼ cup turbinado (raw) sugar
- ½ cup dried hibiscus flowers
- A few thin slices of fresh ginger (about one tablespoon of unpeeled slices)
- 1 dry star anise (omit if you aren’t a licorice fan and use one inch piece of cinnamon instead
- Lime juice (optional – I don’t use it)
- Orange or lime slices for garnish
Instructions
Put two cups of the water and the sugar in a medium saucepan. Add star anise (or cinnamon) and ginger slices and heat until boiling and the sugar has dissolved. Remove from heat. Stir in the dried hibiscus flowers.
Cover and let sit for 20 minutes. Strain into a pitcher and discard the used hibiscus flowers, ginger, and star anise (or cinnamon).
At this point you can store the concentrate in the refrigerator until you’re ready to make the drink.
When ready to serve, reconstitute the concentrate half with this mix and half with water or seltzer water, pour over ice and garnish with a fresh lime or orange slice. This makes good tea if you use hot water too!