Click here to view recipe.
Turkey Thighs – Fresh Out of the (Toaster) Oven
On days when you are not inspired to be creative but want something delicious, filling and easy – consider turkey thighs! I’m especially fond of them because you can roast them in the toaster oven or in your standard oven – easy peasy. And you know how pork belly and bacon are foods du jour? I predict that turkey wings, turkey thighs and chicken fat will soon be on every menu! You saw it here first, folks!
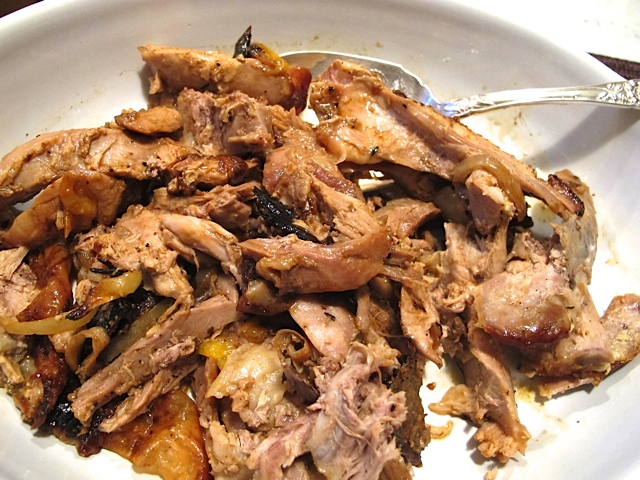
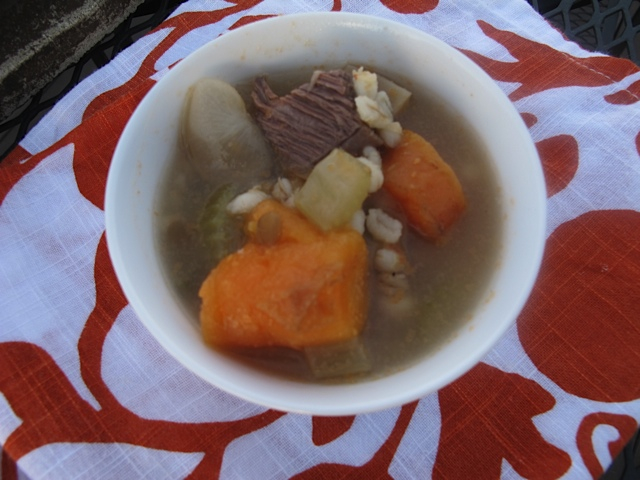
Succulent Turkey Thigh Meat
Lazy Day Turkey Thighs
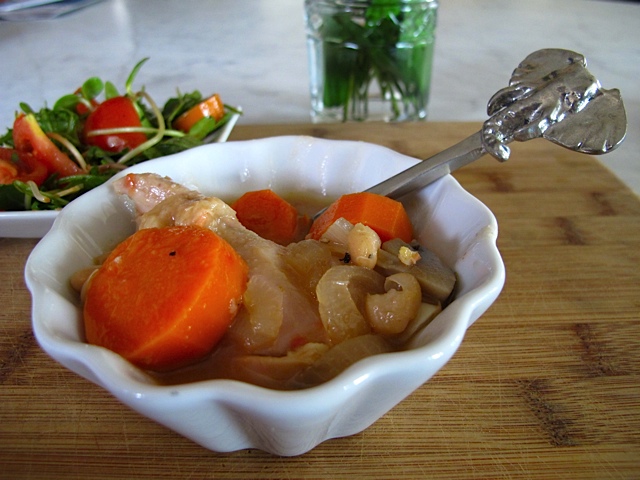
Makes 3-4 servings
![]()
Ingredients
- 1 medium yellow onion, peeled and thinly sliced
- ½ red or yellow pepper, thinly sliced
- 1 Tbsp olive oil
- 2 large turkey thighs (~1 ¼ lb each)*
- 4 tsp spice rub
- ½ cup chicken broth (does not need to be homemade)
*Turkey thighs at my upscale supermarket cost $2.99/lb and each weighed about 1.25 lbs; $7 can easily feed four! You can easily double or triple this recipe as needed.
Instructions
Preheat toaster oven or regular oven to 425. Line rimmed baking tray for the toaster oven or regular oven with heavy aluminum foil. Place onion and pepper slices on the bottom of the tray. Dry the turkey thighs with paper towels, trim any excess fat and place them skin side up on top of the vegetables. Rub the skin of the turkey with olive oil and pat in the spice rub to coat the top of the skin.
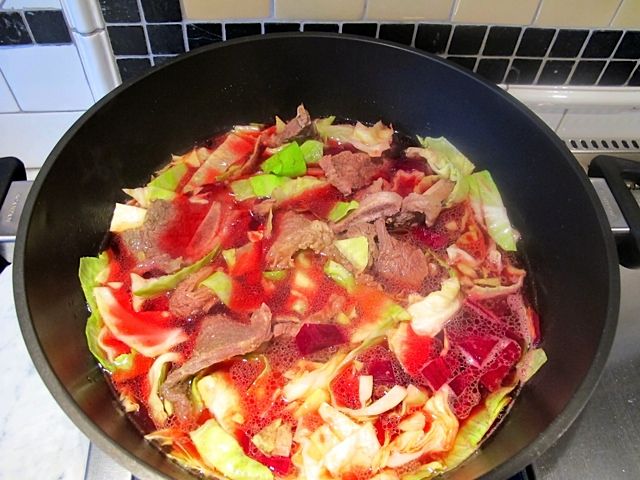
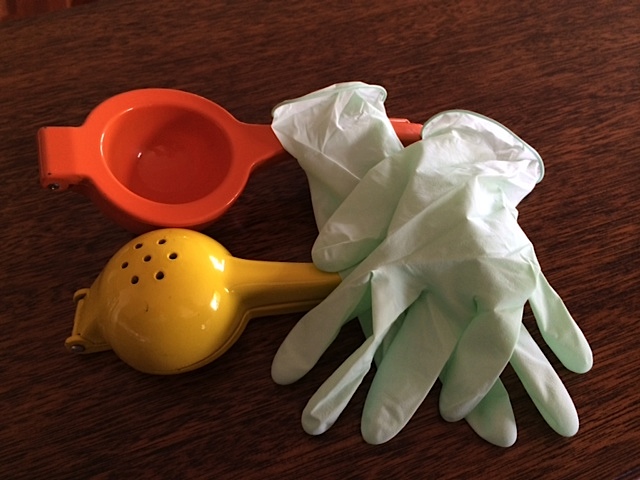
Roast uncovered 30 minutes, then lower the oven temperature to 325 and continue baking another 40-45 minutes or until the meat is really soft and the skin is crisp and dark. Remove the turkey thighs and let them rest at least 10 minutes before tearing the meat from the bone (I do this wearing disposable gloves, and I save the bones to make stock). After removing turkey from the pan, set a skillet on the stovetop over medium heat. Add whatever is remaining on the bottom of the bake sheet to the skillet along with the broth and simmer until slightly thickened. Remove turkey skin (or not – in our house we eat the crispy skin) and carve turkey meat. Spoon onions and sauce over the top and serve with mashed garnet yams and oven roasted green beans with walnuts.
Note: When I turn the oven down after the first 30 minutes, I add halved small carrots and halved brussels sprouts to the sheet, drizzled with olive oil, salt and pepper. This is also great served with brown rice studded with dried cherries.