Click here to view recipe.
Marvelous Meat Patties with Tehina Sauce
I can’t believe it’s been a year since I was in Israel! I go through my photos pretty regularly and have decided, along with my husband, that we must return in short order to explore some of the places we didn’t have time for last year. A driving force for my longing to travel there again? THE FOOD, of course. Everything is so darned good and fresh and tasty!

Beautiful Dizengoff Square in Tel Aviv
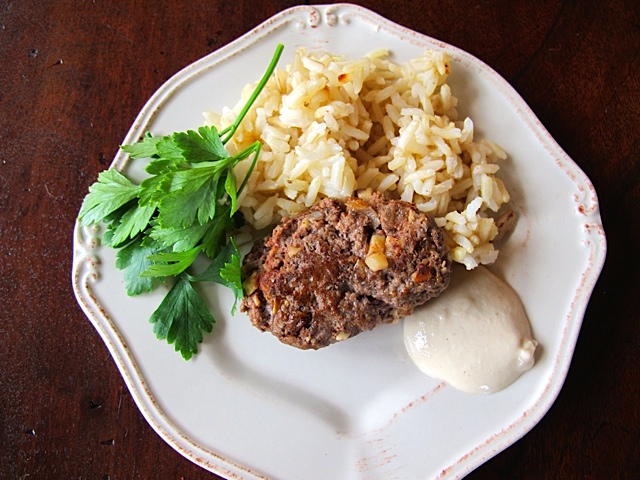
One of the items I ordered and ate pretty often were meat patties, mostly at stands owned by Arabic or Lebanese Israelis. The ground nuts mixed with meat and warming spices gave them a bit of interesting texture – definitely not your average meat patty! They were sometimes served inside warm pita bread. I have played with several recipes for these aromatic ground beef (or ground lamb) darlings, and have topped them with a tehina sauce and once with a yogurt-cucumber sauce (kind of Greek) — not very kosher, I know.
I have a wonderful meat market close to home – A & J Meats. They have the best single source, organic, 85% lean ground chuck that I use for this, and I’ve made the recipe with ground lamb as well. Both beef and lamb taste great here so it is really up to you!
Often I make a double recipe of these patties and freeze half raw on a waxed paper lined cookie sheet. Then when they are solidly frozen, I plop them into a freezer container and then remove a few as needed for those evenings I am uninspired or too busy to cook!
Israeli-Inspired Meat Patties
Serves 4-6
![]()
Ingredients:
- 1 ¼ lb 85% lean ground beef or ground lamb
- ½ cup white onion, peel and mince to ¼”
- 3 Tbsp tomato paste
- Grated zest of 1/2 large lemon (I use a microplane grater)
- Juice of 1/2 large lemon
- 1 tsp ground cinnamon
- ½ tsp ground nutmeg
- ½ tsp ground cloves
- 1/2 tsp cayenne (more if you are spicy!)
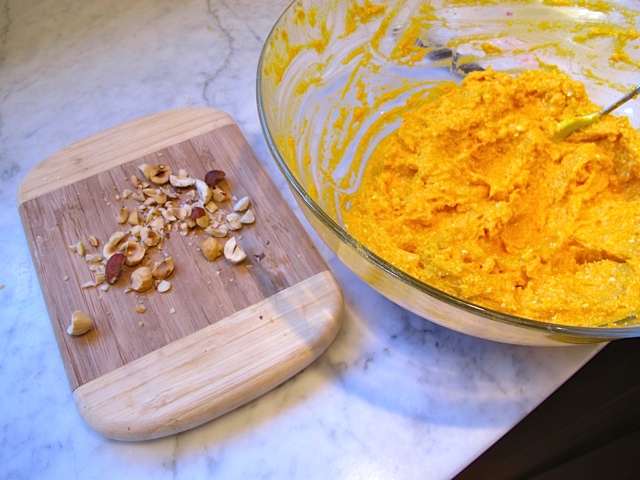
- 1/4 cup chopped blanched almonds (I buy them slivered in bulk then put them in a baggie, roll with a rolling pin to get them fairly fine)
- 1 tsp salt
- 10 grinds of ground black pepper
- 1 Tbsp extra-virgin olive oil (for frying)
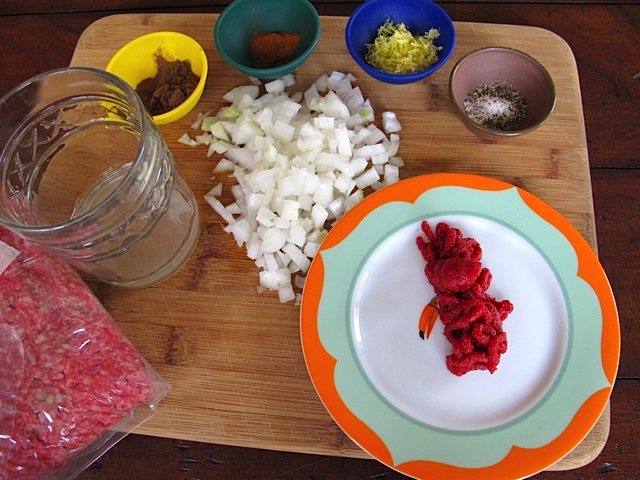
The Ingredients
Instructions
Make the patties: Combine everything except olive oil in a large bowl and knead well with your hands until well combined. I wear disposable gloves for this task, always. Firmly form the mixture with your hands into two-inch long, slightly oval patties and set aside. Because there are no eggs or bread crumbs in this recipe to bind the meat, you will need press them tightly or they will break apart when you cook them. I always refrigerate them for at least an hour which seems to keep them intact.
When ready to cook the meat, heat a large 12-inch sauté pan, drizzle in a thin film of olive oil and heat over medium-high heat until the oil begins to shimmer. Add the oval discs one at time, leaving space between them. I fry them in two batches. Lower the heat to medium and brown the patties on both sides, turning gently to keep them from falling apart. Remove them to a rimmed platter when their centers are no longer pink
Serve with a tehina or yogurt sauce.
Yogurt Cucumber Sauce
Ingredients
- ½ unpeeled English cucumber, shredded on a box grater
- 1 cup 2 % Greek yogurt
- ¼ cup finely diced Anaheim chili , minced.
- Salt and freshly ground black pepper
Instructions
Combine all the ingredients in a medium-sized bowl and let the flavors come together for at least an hour in the refrigerator before serving. Also good as a dip, or add radishes, carrots and even tomato for a salad type dish. Stir before using as the cucumber makes this more watery over time.
Tehina Sauce
Note: I recently discovered THE BEST TEHINA I HAVE EVER EATEN, bar none. Read the Soom Foods story and you’ll start to understand why I am a believer. I am a convert. I am ordering a case of this stuff and if any of you readers in Seattle want some, let me know and I’ll include your order with mine to save shipping money. I only hope that the markets here will get smart and start carrying Soom tehina. It is much milder and richer and more liquid in texture than the brands I have used in the past. I make a variation of tehina sauce written on the back of the bottle:
Ingredients
- ½ cup Soom Foods Tehina
- Juice of 1 lemon
- 1 garlic clove, crushed
- ¼ tsp sea salt
- ¼ cup cold water
Instructions
Whisk all ingredients together – it will take a little elbow grease to get this combined and beat out all the lumps. Add more water if you prefer a thinner dip (I added a lot more water and it was still thick). This will keep in the fridge for a week at least and I use this to mix with grilled veggies, as a dip for crackers, on top of chicken or meat … endless possibilities!