Click here to view recipe.
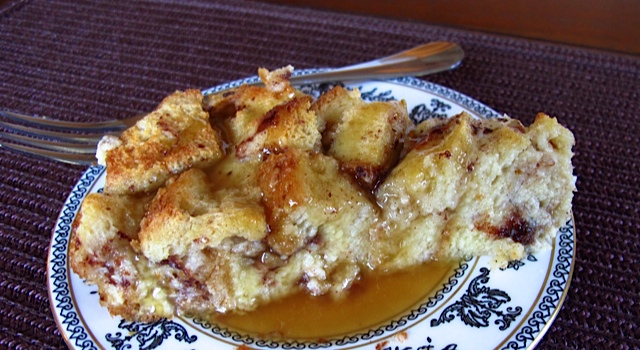
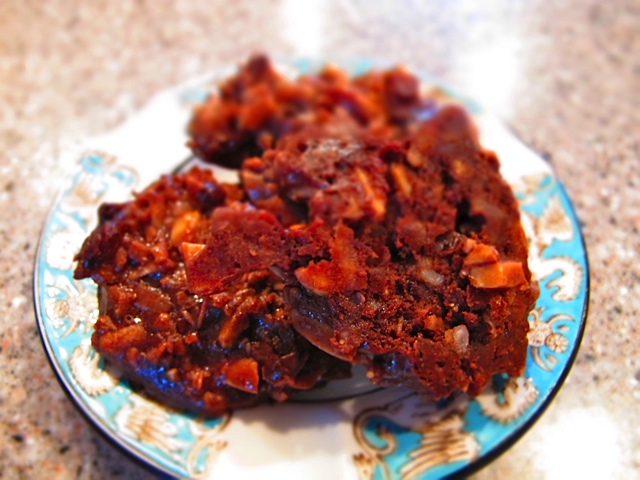
Decadent Bread Pudding with Caramel Sauce
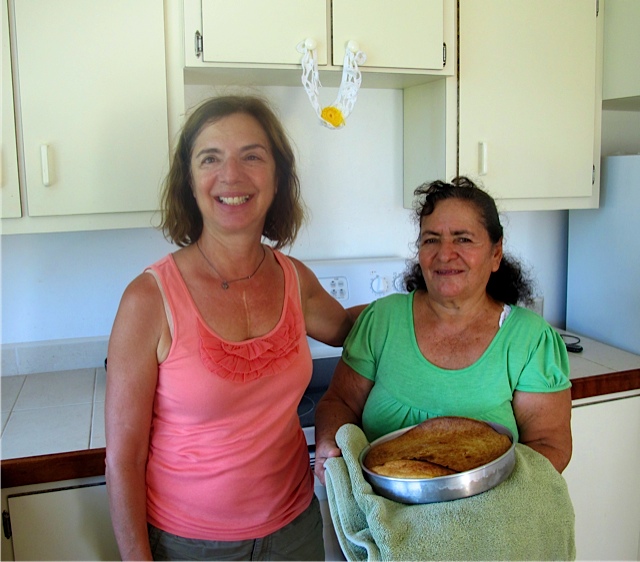
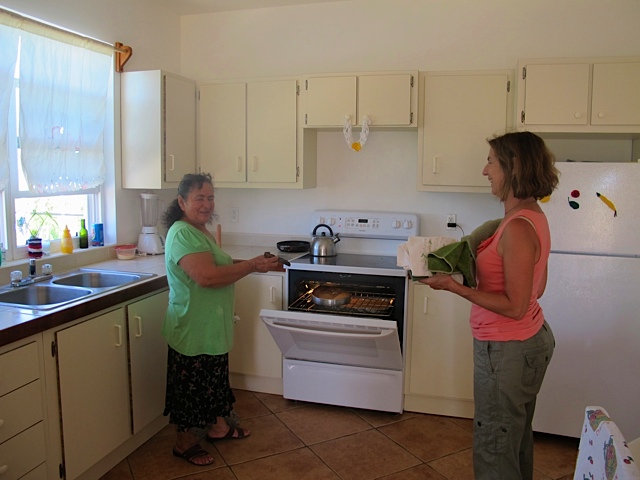
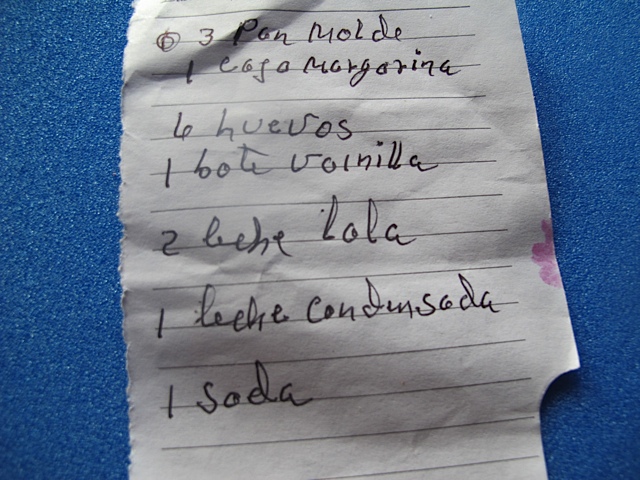
A few weeks ago, I described the intricate process of observing a global dish being made in an authentic cook’s kitchen. And I planned, really I did, to publish the recipe I learned. However, I just cannot get my head around Miss Estella’s recipe.
For starters, she used white bread – “air” bread as I used to call it… basically white (aka processed) bread. That makes me pause, knowing full well 9 out of 10 of you won’t go further in the recipe. Add in margarine – which I detest and will never use – and boxed (irradiated) milk, baking powder (for what??), imitation vanilla and a method that pulverizes the bread so that the final product has zero texture. If I close my eyes I wouldn’t be able to define what I was eating – just a mushy, soft, sort-of-sweet pudding without a lot of flavor. Don’t misunderstand – I was ever so grateful to cook alongside her and I can only imagine how much comfort her bread pudding has provided her family and friends over the years. It’s just not my particular cup of tea.
I have my own recipe that I have made for well over ten years, and it is priceless. The texture is nice, the sweetness balanced. I am not saying it is healthful in any sense of the word, but in my mind if I’m going to have a bread-based dessert – it had better be great. I have served this during the dark winter days when I don’t have the option to make fresh fruit crisp or pies – I have even made it for New Years and Thanksgiving. There’s never a crumb left!

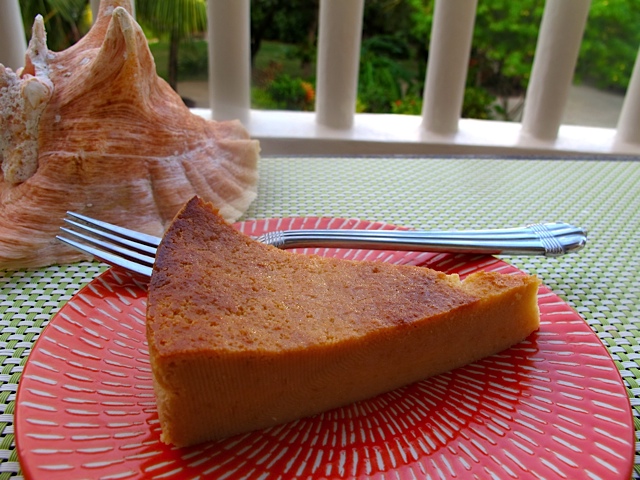
Right out of the oven!
So here it is, MY glorious Global Kitchen bread pudding with an added feature – homemade caramel sauce. Not hard, and absolutely worth making. This week I got lazy and used packaged cinnamon swirl bread that was a little sweet to start with. You can adjust the sugar in this recipe accordingly so that if you use unsweetened bread, you add about ¼-1/2 cups more sugar.
Marilyn’s Bread Pudding
Serves 12
![]()
Ingredients:
- 1 large loaf cinnamon bread or sweet raisin bread (roughly 8-10 cups when cubed)
- 6 large eggs
- 2 ½ cups of 2 % milk
- 1 tsp. pure vanilla extract
- ½ cup packed light brown sugar
- ½ cup granulated sugar
- 1 sticks melted butter
- 2 tsp. cinnamon (I used more b/c my bread was only raisin bread)
- Optional: ½ cups raisins if you are a raisin fan – I always soak them in 1 cup of fresh orange juice for at least an hour, then I drain them before adding to the recipe
Instructions:
Generously butter a 9 x 12 pan (I use a ceramic oval dish).
Cut bread into ¾ ” cubes and distribute evenly in the baking pan.
In another bowl combine sugars, milk, melted butter, eggs and cinnamon. Beat well to combine.
Pour liquid mixture over bread and gently press down so the bread soaks up the liquid. If you’re using additional raisins – add them at this point. The egg mix will begin to absorb into the bread right away. Cover and refrigerate the uncooked pudding for at least an hour or up to one day. Bring it to room temperature before cooking.
After the uncooked pan is at room temperature for an hour, preheat the oven to 350 and put the oven rack in the middle of the oven. Again press with your fingers on the bread to get the egg mix evenly distributed.
Bake for 40-45 minutes, or until a knife inserted into the liquid part toward the center of the dish comes out clean.
Remove from oven to a cooling rack. Serve warm with the following sauce.
Caramel Sauce-makes 1 and 1/2 cups enough for leftover sauce!
Ingredients
- 1 stick butter, melted
- ½ cup white sugar
- ½ cup brown sugar
- ½ cup water
- 1 heaping Tbsp. flour
- 1 ½ tsp pure vanilla
Instructions
Melt butter in saucepan over medium heat. Add sugars, water and flour and whisk well to combine. Bring to a boil. Reduce heat and simmer gently for three minutes, stirring every 20 seconds or so until thick. The mixture will foam a bit at the beginning. Just keep stirring! Remove from the heat and after 2 minutes, add the vanilla.
Pass the warmed sauce in a pitcher to serve over squares of warm bread pudding. Bread pudding keeps one week in the fridge, and the caramel sauce stays for at least 2 weeks.
This sauce is wonderful over vanilla ice cream or drizzled over grilled or poached fruit with a touch of Greek yogurt. I’m thinking of scooping out vanilla ice cream, topping with some of this sauce then sprinkling with coarse designer salt flakes — to me this oh-so-21st-century.