Click here to view recipe.

Curried Sweet Potato & Spinach Stew
My son “Jakey Boy” and I share the same palette, more or less. We save the same recipes and are attracted to easy but fresh concoctions, making the same substitutions or changes without knowing that the other person has done so too.
Recently, Jake’s oldest son, Elan, was with me en route to the farmer’s market, and he raved about a dinner his parents made the night before. “I ate three bowls!” he told me. I asked him what was in his bowl, and he said, “Rice with lots of sweet potatoes and spinach and curry.” After we shopped, I dropped Elan off at his home, and Jakey Boy gave me a taste of the dish. It was wonderful! He told me which changes he made from the original New York Times recipe by Lidey Heuck.
Soon after, I made a full recipe, and we ate it for dinner, then we ate it for lunch, and I gave a small amount away to a neighbor. I even froze a small dinner sized portion. ! This combination of flavors tasted incredible to me. I hope you enjoy this as well.
Curried Sweet Potato & Spinach Stew
Yield: 4 to 6 servings
Ingredients
- 3 tablespoons olive oil
- 1 pound sweet potatoes (about 2 medium sweet potatoes), peeled and cut into 1 inch cubes
- 1 medium yellow onion, peeled and chopped ½ inch
- 3 tablespoons Thai red curry paste
- 3 garlic cloves, minced (about 1 tablespoon)
- 1(1-inch) piece fresh ginger, peeled and grated (about 1 tablespoon)
- Squirt of sriracha if you want some spice
- 1 teaspoon ground turmeric
- 1 cup red lentils, rinsed
- 3 cups low-sodium vegetable stock (I used Better than Bouillon chicken stock reconstituted)
- Salt to taste (I add this at the end since my chicken stock is salty)
- 1(13-ounce) can full-fat coconut milk
- 1(4- to 5-ounce) bag fresh baby spinach
- 1 lime, juiced
- Fresh cilantro leaves, for serving if desired
Instructions
In a heavy 6 quart pot, heat two tablespoons of olive oil over medium-high. Add the sweet potatoes and cook, stirring occasionally, until browned all over, 5 to 7 minutes. Transfer the browned sweet potatoes to a plate and set aside.
Add the remaining 1 tablespoon olive oil to the pot and set the heat to medium-low. Add the onion and cook, stirring occasionally, until translucent. Add the curry paste, garlic, ginger, chile, and turmeric, and cook until fragrant, about 1 minute.
Add the lentils, stock, salt and browned sweet potatoes to the pot and bring to a boil over high. Lower the heat and simmer, uncovered, stirring occasionally, until the lentils are just tender, 20 to 25 minutes.
Add the coconut milk and simmer, stirring occasionally, until the liquid has reduced and the lentils are creamy and falling apart, 15 to 20 minutes.
Add the spinach and stir until just wilted, 2 to 3 minutes. Off the heat, stir in the lime juice and season with salt to taste.
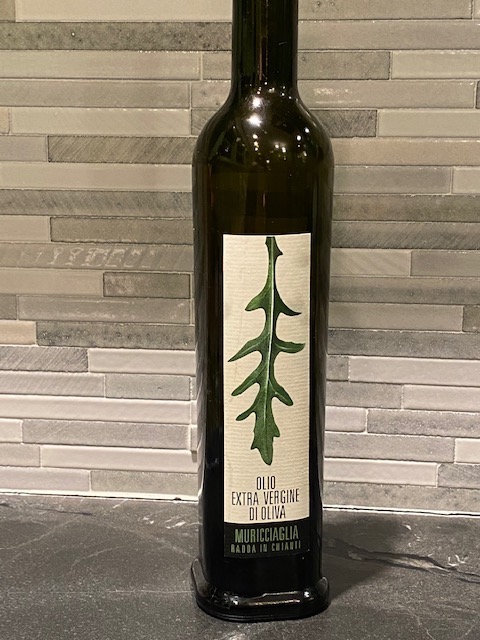
Divide among shallow bowls and top with cilantro, if using. I always drizzle a little Italian olive oil too!